Getting blacked out tail lights is a favorite customization trick among car enthusiasts. It gives the back of the car an upgraded look that can either be elegant, wicked, or just plain sleek. While pulling off the job requires precision and sharp attention to detail, it is definitely DIY-able. All you need to do is follow this simple guide:
Method 1: Use Spray Tint
Materials you need:
- Painter’s tape
- Clear coat spray paint
- 2000-grit sand paper
- Rubbing compound
- Bucket of soapy water
- Black spray tint
- Sponge
- Wax
For this method, you have the option to take out your tail lights or keep them in place.
If you wish to remove your tail lights, the first thing to do is to open your trunk. Pull out the carpet liner, then locate the fasteners and unscrew them. After that, disconnect the tail light bulb wirings by drawing them out and that’s it—you can now take out your tail lights.

Prepping the Tail Lights
Next thing to do is prep. Start off by ridding your tail lights of dirt. Wash them using soapy water, then proceed with wet sanding. Soak your 2000-grit sand paper with water before using it on your tail lights. Sanding will make for a more polished finish. Gently sand your tail lights until they are evenly scuffed up.
Tinting the Tail Lights
Now, it’s time to paint. But before you do, cover first with painter’s tape the areas you don’t want any paint on. Based on several traffic laws, it is best to keep your reverse lights unpainted so do mask them. Afterwards, start applying tint. Give the spray tint can a good shake before using it. For best coverage, hold up your spray tint can at least seven inches away from the tail light. Allow each layer to dry before adding another layer. Continue to layer up until you achieve your desired shade.
Finishing Touches
After the tint dries up, remove all strips of painter’s tape. Once done, wet-sand your tail lights again. Make sure their surface is proportionally brushed up before laying the clear coat. Apply five or more layers of clear coat for maximum effect. Finally, when the clear coat is dry and set, buff your tail lights with rubbing compound and wax before reinstalling them to your car.

Method 2: Use of Film Tint
Materials you need:
- Soapy water solution in spray bottle
- Microfiber towel or cloth
- Utility knife
- Hair dryer
- Squeegee
- Film tint
As with the first method, begin by cleaning your tail lights. Use the microfiber towel and soapy water solution to cleanse them. After that, get your film tint ready. Separate the protective sheet and the film from each other. Don’t forget to spray the soapy water on the sticky side of the film. Before placing the film tint on your tail lights, make sure it has enough dimensions to cover up the whole tail light surface.
Stretch out the film tint and secure it in place. Start with the flat part of the tail light first, then work your way to the curved part. Use the squeegee to straighten out the film and to remove bubbles and excess water. To eliminate blobs, press and push the bubbles out towards the edges. If the film gets stiff and becomes unmanageable, reapply the soapy water to make the film flexible again. You can also apply heat using a hair dryer to make the film softer.
When everything is smooth and bubble-free, trace the shape of your tail light and cut the excess film tint using your utility knife. Leave extra film on the edges so you can tuck them in to achieve a clean finish.
Things to Keep in Mind before Tinting
“Are blacked out tail lights legal?” Before modifying your car, it’s best to do research. Traffic laws differ from state to state. In some places, tinting is allowed, but the laws come with specific tint percentages that you need to comply with.
On the other hand, other states have totally forbidden any alteration on the tail lights. However, in some special cases, for example during an auto show, these customization are usually permitted. So to save yourself from unnecessary fine and penalty, learn about the tinted tail lights law in your place.
In conclusion, it is up to you how far you’ll go with your car modifications. Just remember to always be a responsible car owner.
So, “Where could I find affordable tail light tint near me?” you might ask. Look no further because CarParts.com has the best selection for you. Shop at your convenience through our wide range of nightshade tail lights tints here.
Shop this Project
-
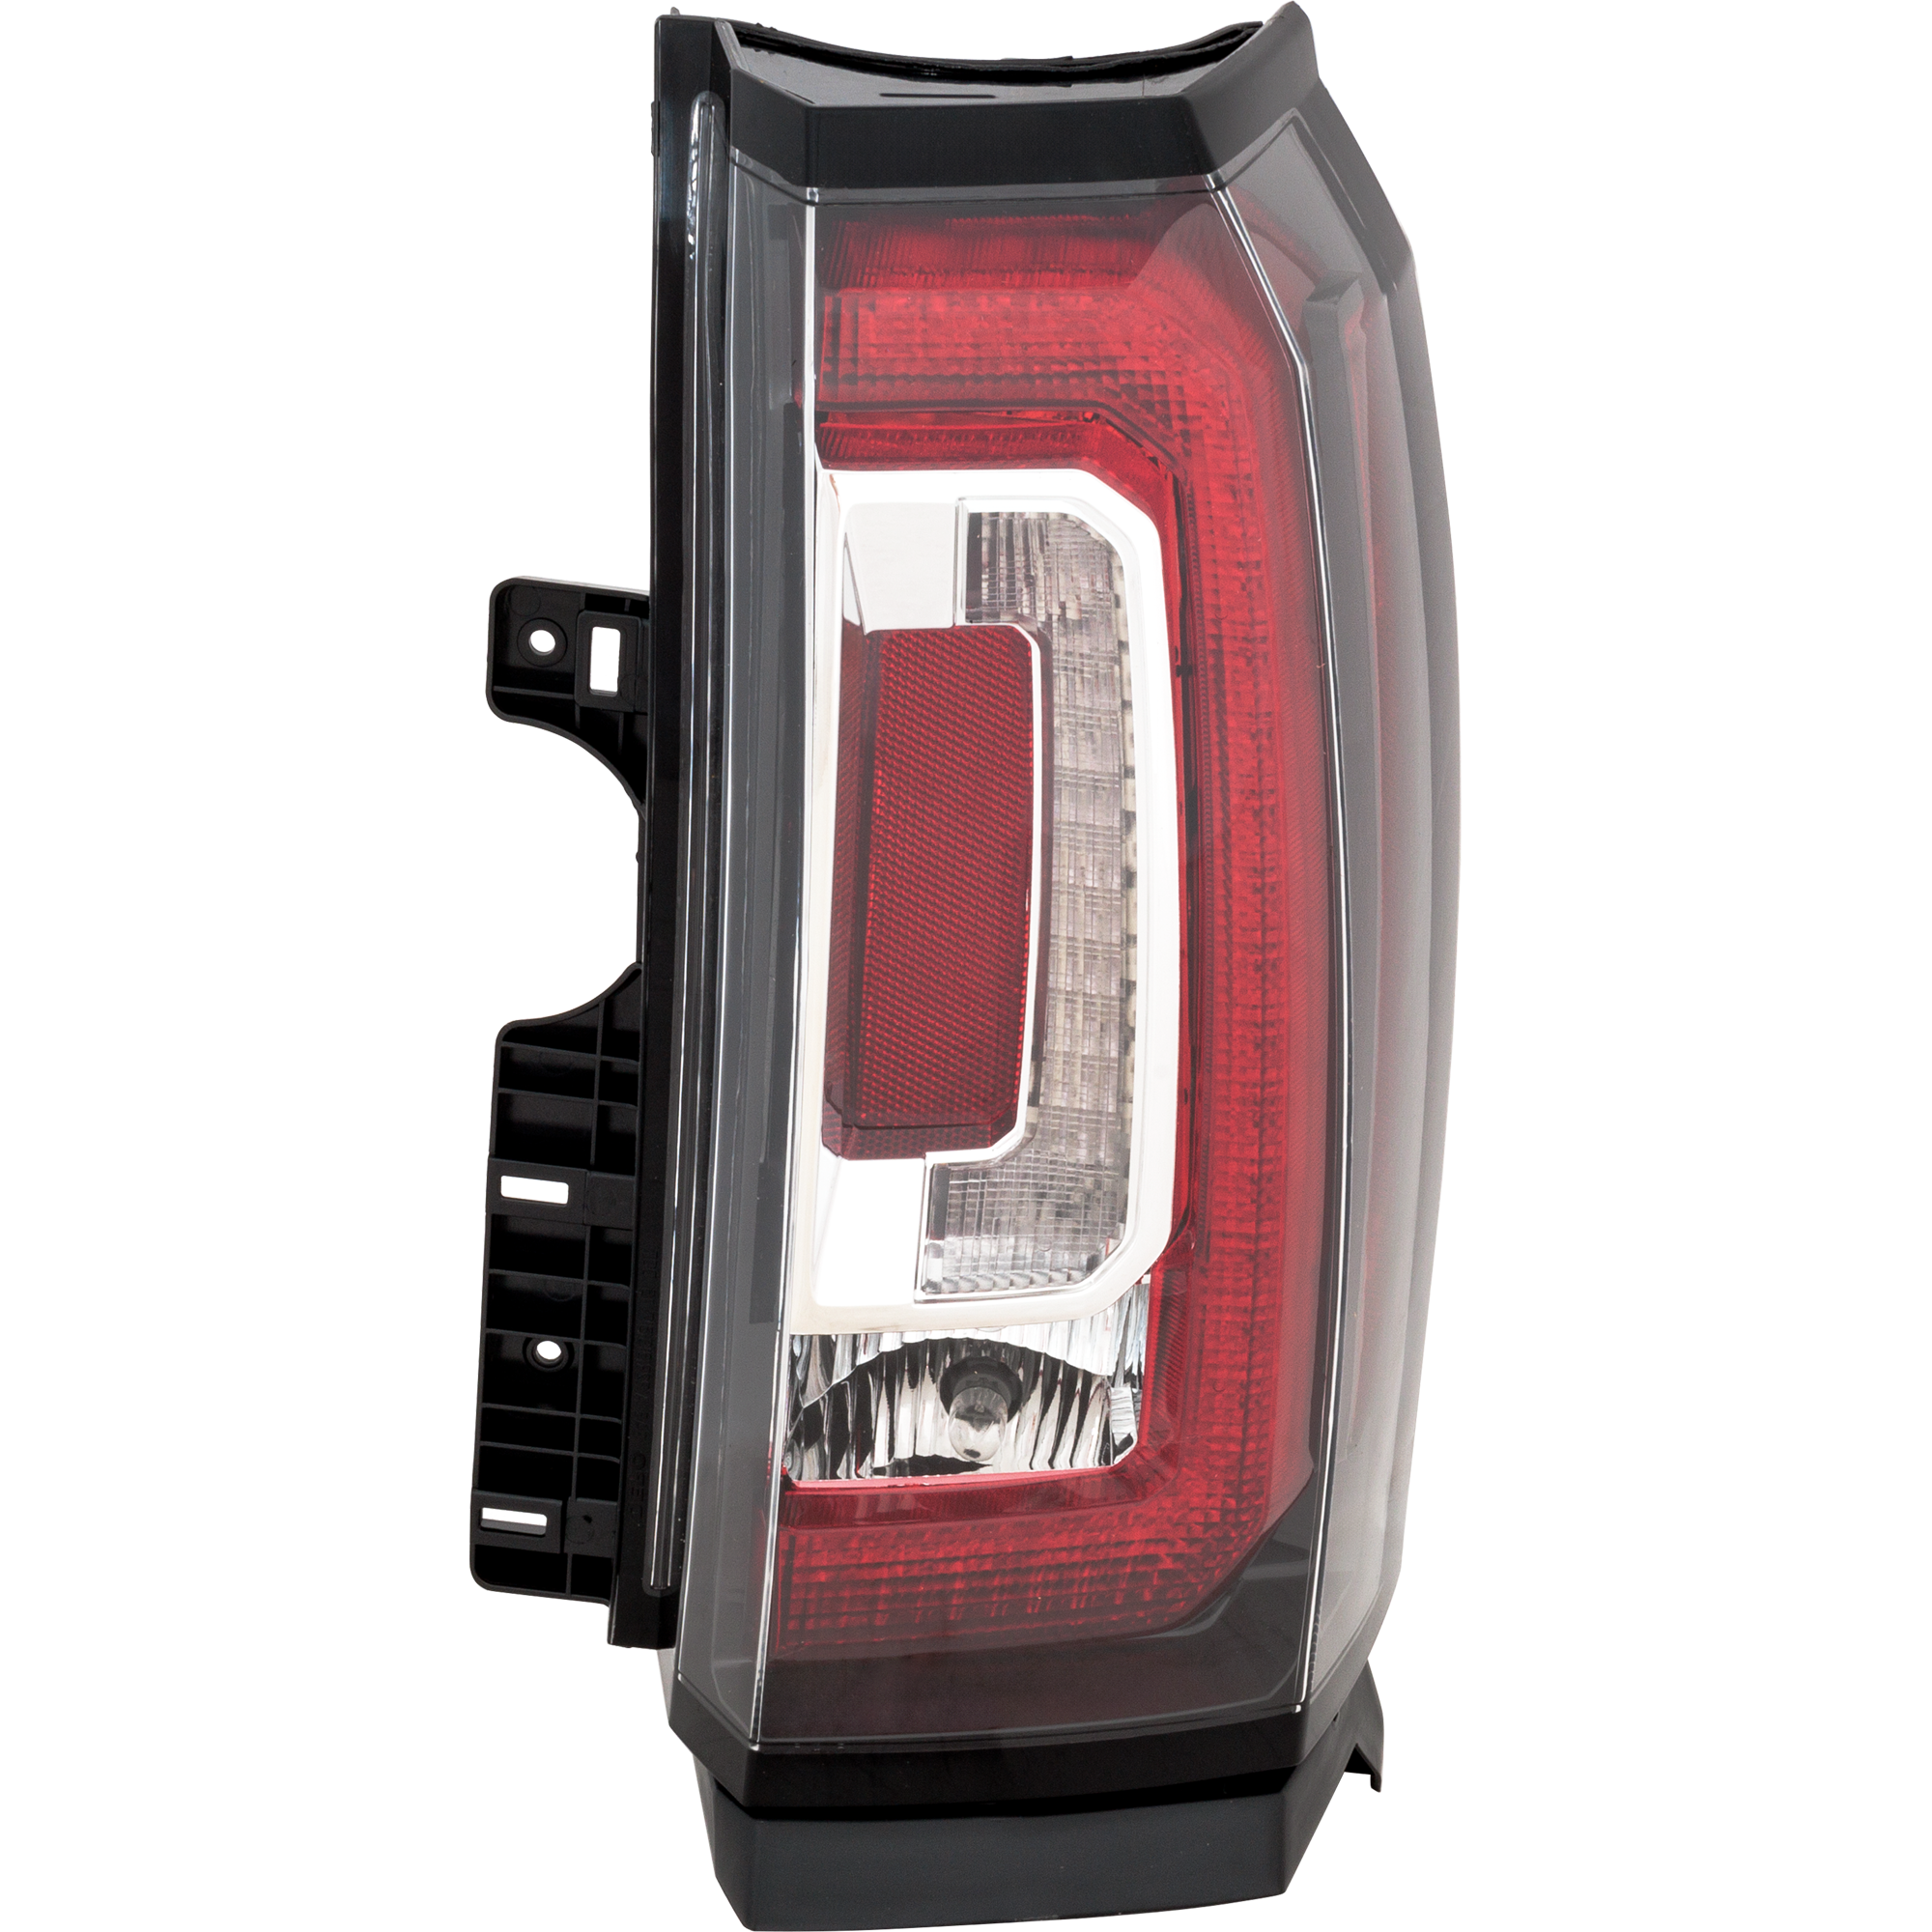
Replacement – Passenger Side Tail Light, With bulb(s), LED, Clear and Red Lens
$269.99
Price and rating may change from the time content is published.
-
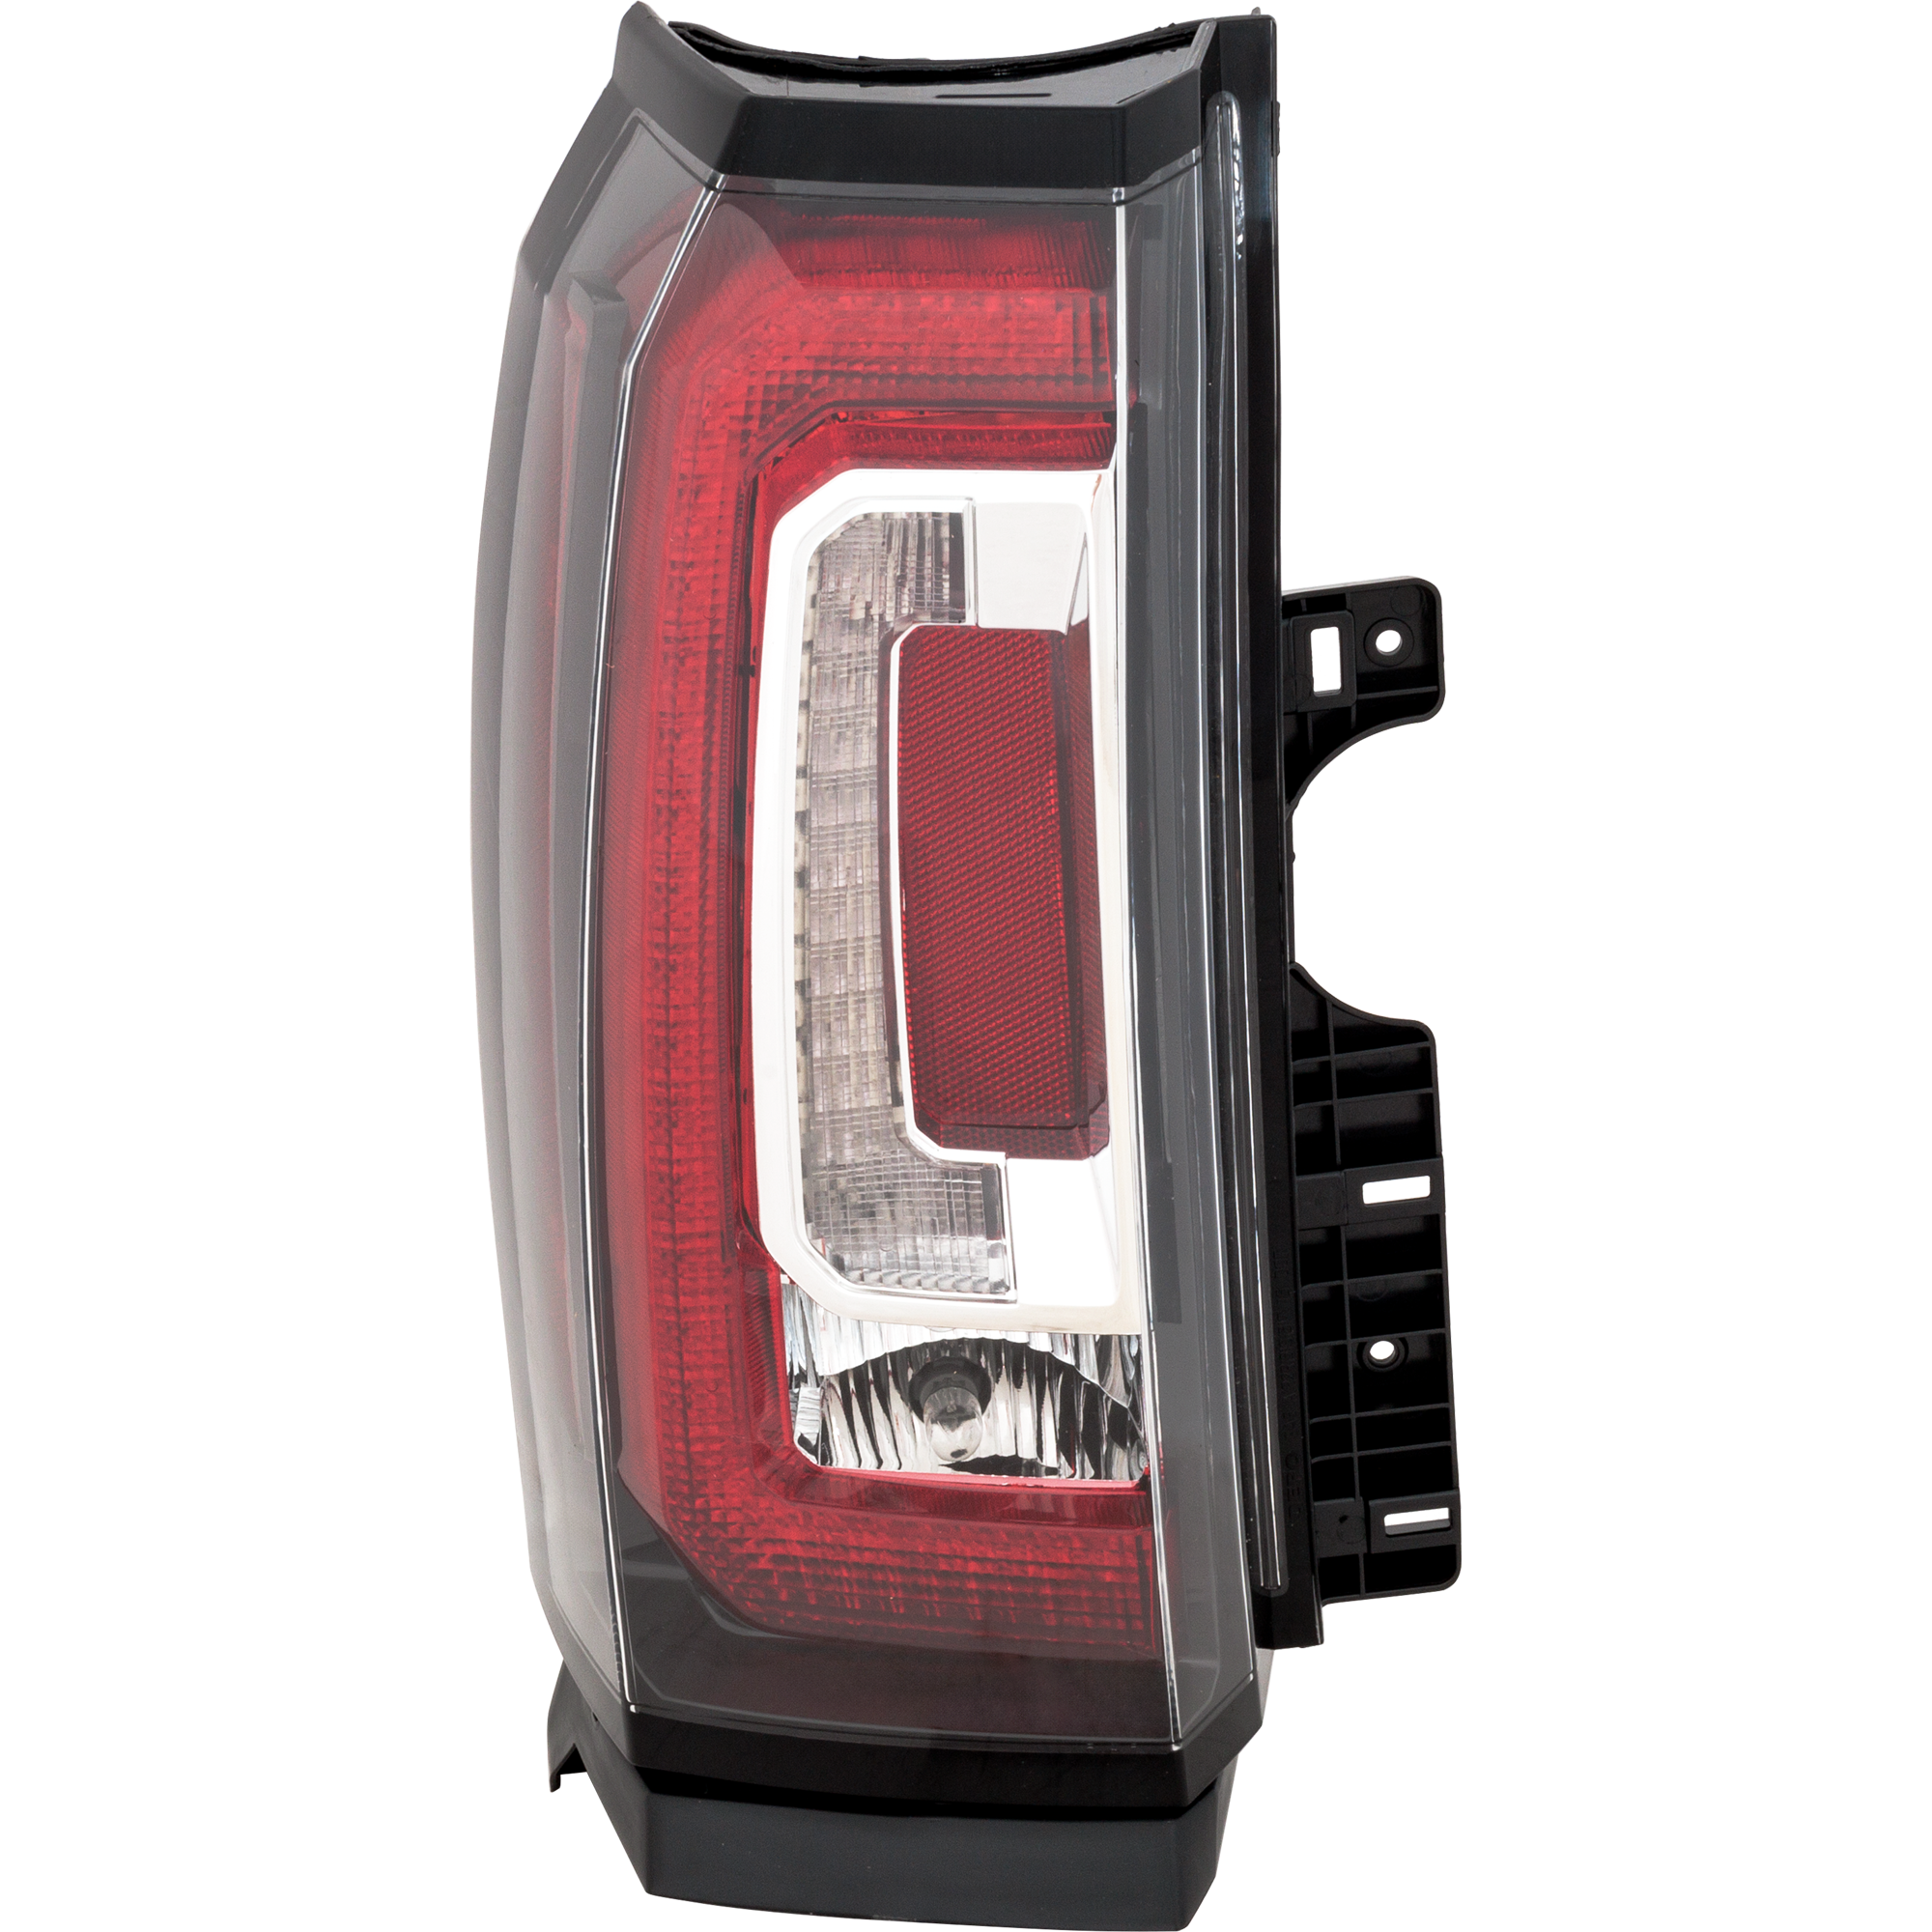
Replacement – Driver Side Tail Light, With bulb(s), LED, Clear and Red Lens
$209.99
Price and rating may change from the time content is published.
-
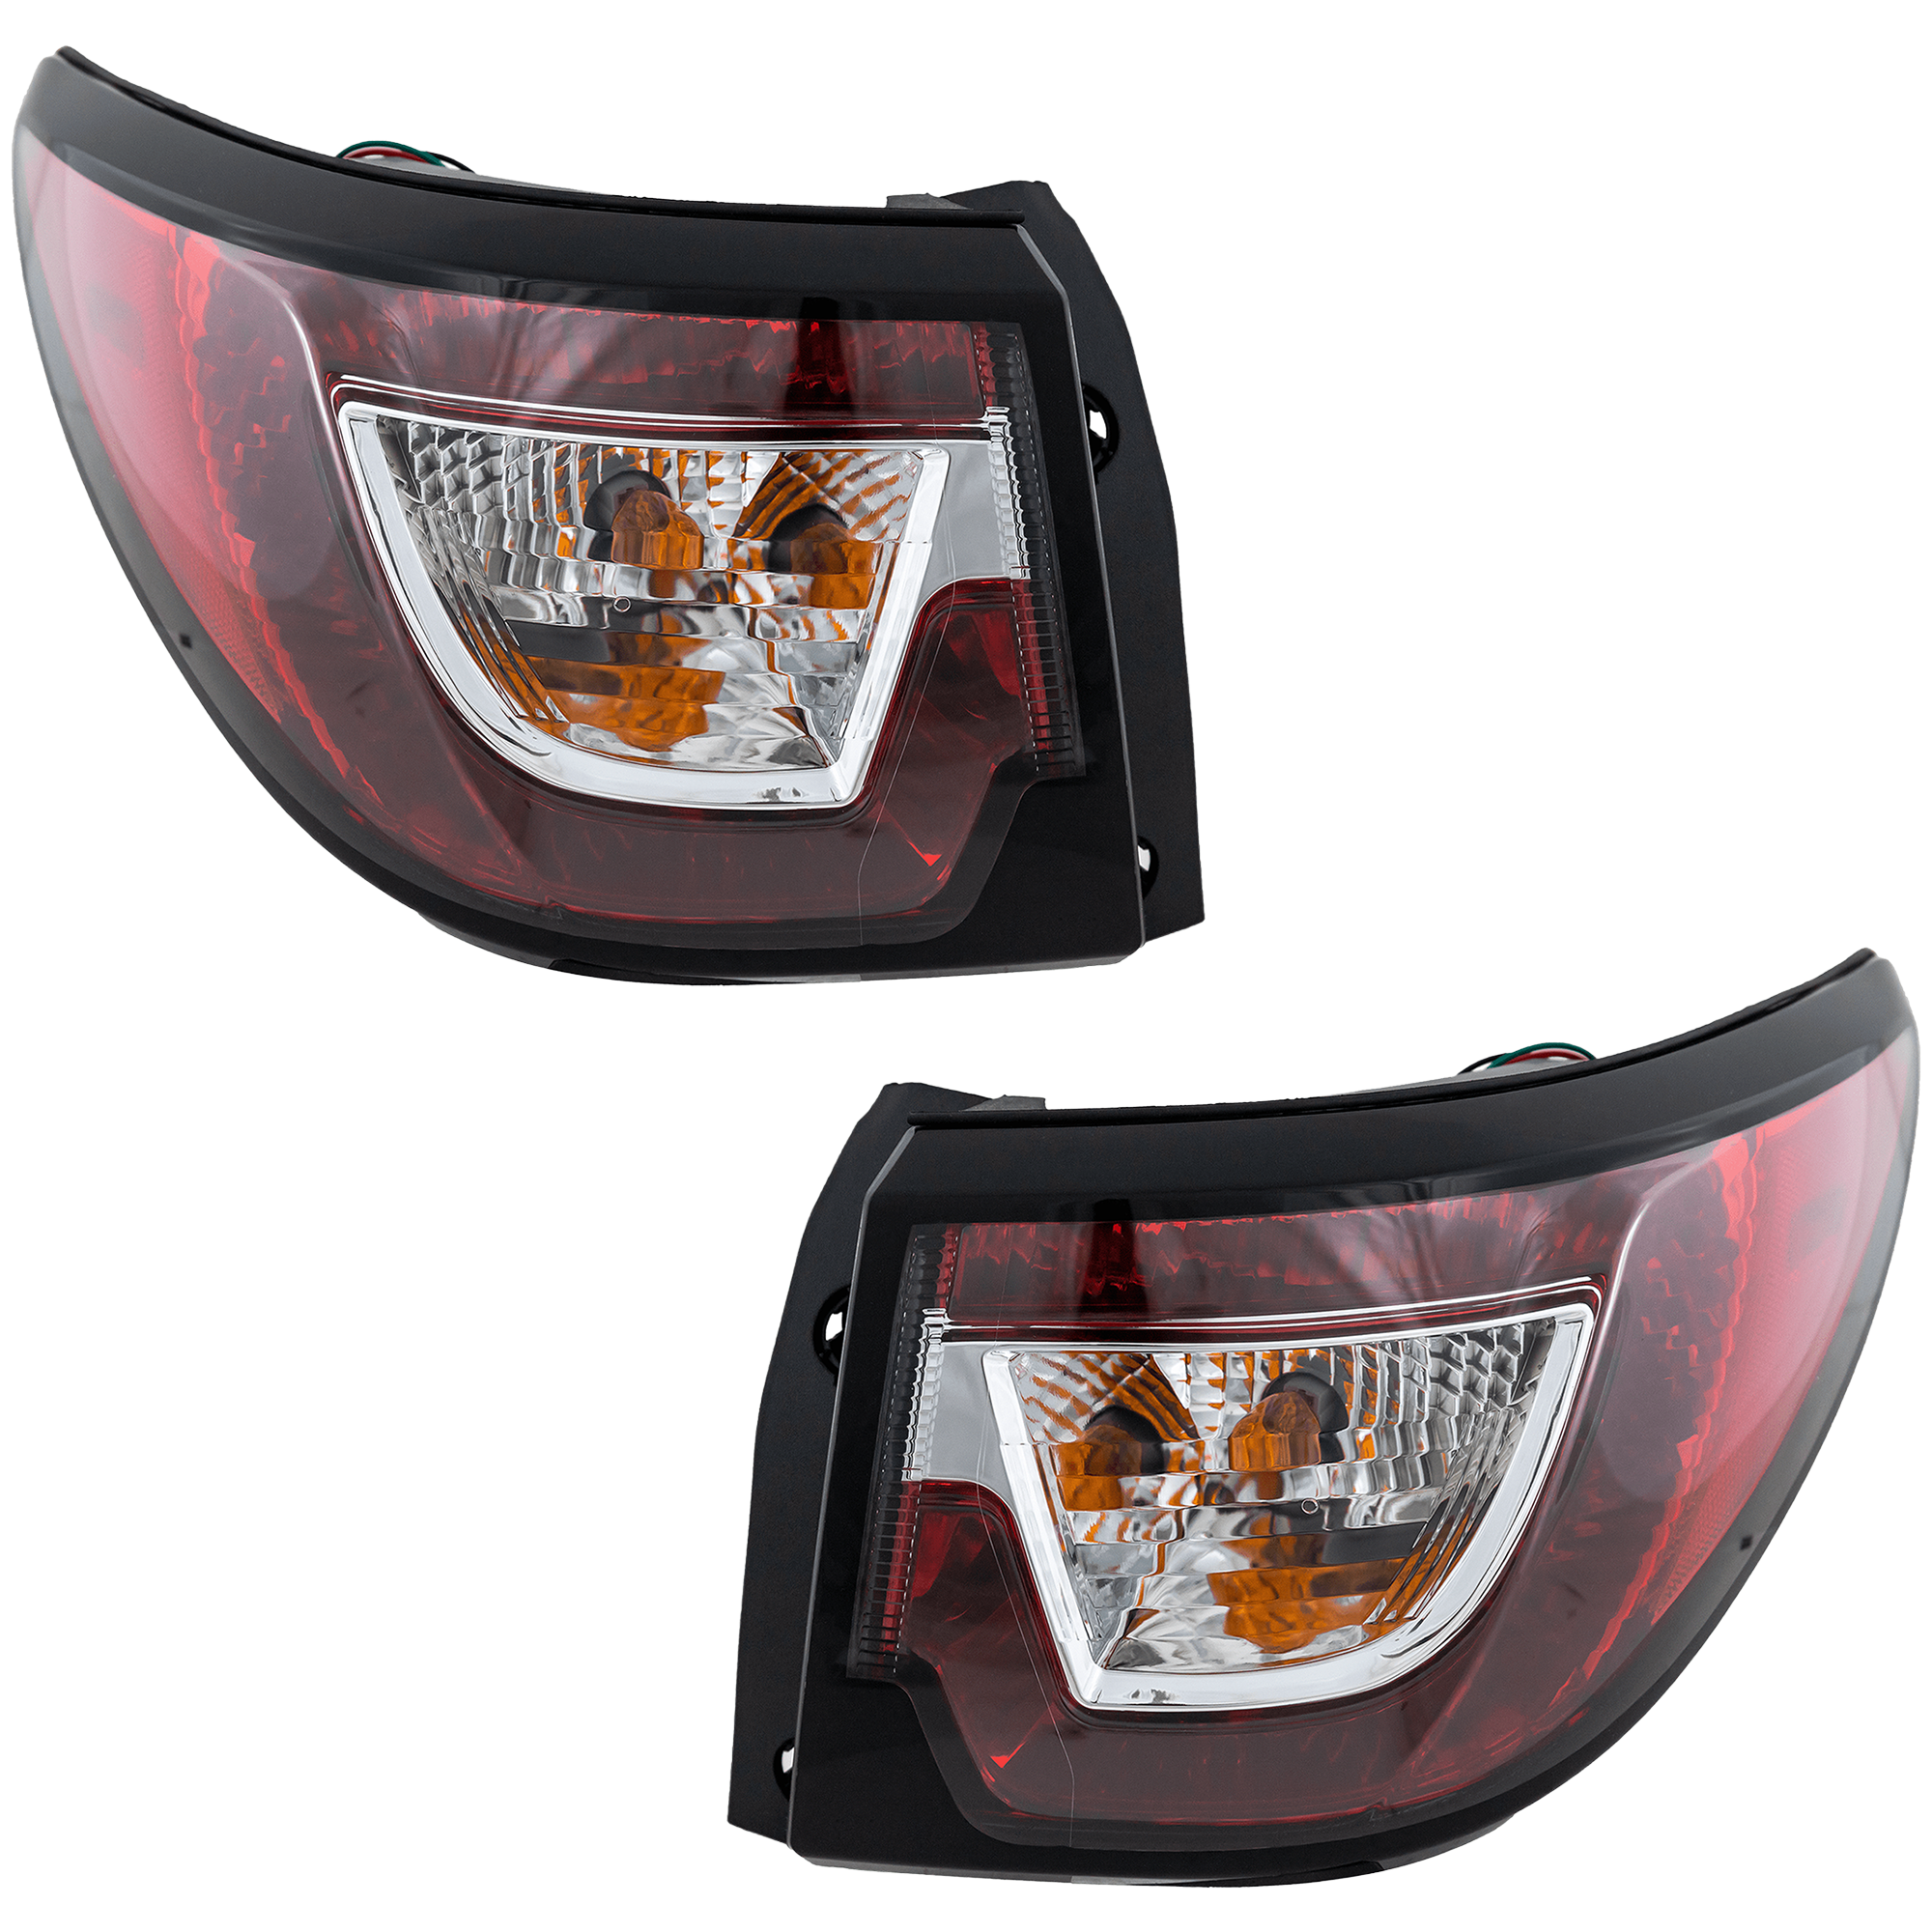
Replacement – Driver and Passenger Side, Outer Tail Lights, With bulb(s), Halogen, Mounts on Body
$181.41
Price and rating may change from the time content is published.
Any information provided on this Website is for informational purposes only and is not intended to replace consultation with a professional mechanic. The accuracy and timeliness of the information may change from the time of publication.


